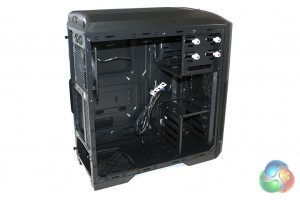
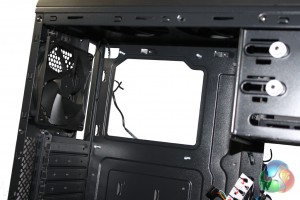
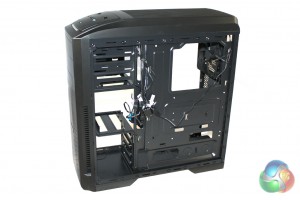
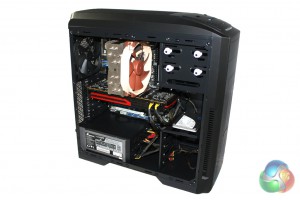
Removing the side panel of the case reveals the entirely black painted interior of the case which should complement most component choices aesthetically.
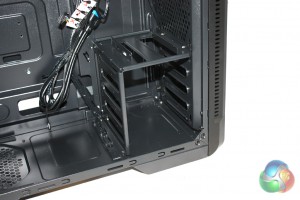
There is a reasonable amount of room to work with inside the case but it isn’t the most spacious design we have experienced. The internal layout is clean enough, with the hard drive bays over on the right hand side of the case.
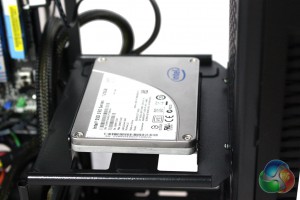
Antec include a series of sliders in the accessory bundle which you can attach to 3.5” hard drives. These allow you to slide simply into the four provided bays. There is only provision for a single 2.5” drive in this system which is located on top of the 3.5” bays.
We chose to install a solid state drive into the system, requiring two screws in one side.
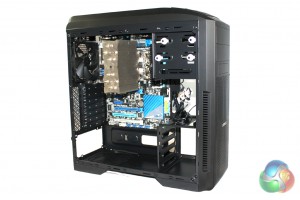
Installing a motherboard into the system is a simple process. Six of the stand-offs are pre-installed so we only had to attach the remaining three before securing down our motherboard into the case.
There isn’t a tool supplied for screwing the stand-offs into place, though, which could pose a challenge when trying to remove the motherboard from the case.
There is also a large cut out section in the motherboard tray to facilitate the installation of a CPU cooler. This will be particularly useful for those users who are planning to upgrade their cooler at a later date as they will be able to do so without removing the motherboard.
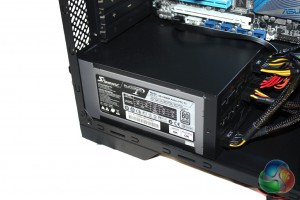
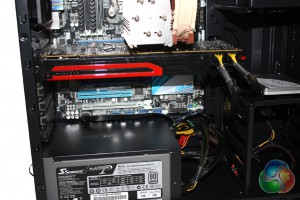
There is a generous amount of room in this case for longer power supplies. The Seasonic Platinum 1000W that we selected for our test system is slightly longer than a standard ATX model and obstructed one of the cable routing holes slightly. The other hole was sizable enough for all the cables however. The only time we could envisage an issue would be with a larger, non modular power supply.
We are a little disappointed by the lack of room behind the motherboard tray for cable routing. There is just enough to viably route the cables behind the tray, as the design of the side panel allows a little extra room. There are a few cable routing holes cut into the motherboard tray which facilitate cable routing so you should be able to achieve a tidy build in this case with a little effort.
The design of the hard drive bays allow plenty of room for long graphics cards, although there didn’t seem to be any screws supplied for securing expansion devices into place. The expansion slot covers cannot be reattached after they have been removed so you need to think carefully about the ones that you need to remove.
Overall the installation procedure was fairly simple, but as we said earlier, the lack of a proper installation manual may pose a problem for inexperienced users.
 KitGuru KitGuru.net – Tech News | Hardware News | Hardware Reviews | IOS | Mobile | Gaming | Graphics Cards


Hi there, and thanks for the review, I found it really informative.
Even though this is a so-called budget case, would I be able to switch the top 2x120mm fans with a 240mm rad from, say, the Antec H20 Kuhler 1250?
Look forward to hearing from you soon, and sorry for the inconvenience!
Cheers,
Bharathan