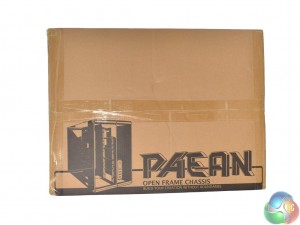
The Raijintek Paean ships in a plain brown box, with just a small image on the front.
Upon opening the box, it is becomes clear (if it was not already) that the Paean is a bit different. This is because it comes completely disassembled, so obviously you have to put it together to get something resembling a computer chassis.
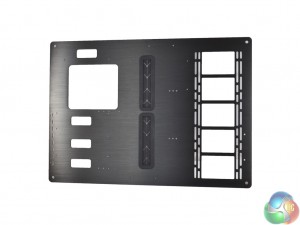
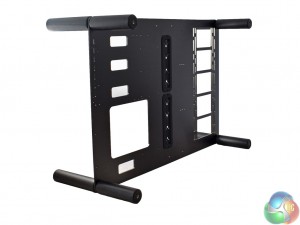
The first thing to come out of the box is the aluminium frame. It is is a large slab of brushed metal, with plenty of space to mount radiators (up to 360mm), motherboards up to ATX, as well as multiple graphics cards.
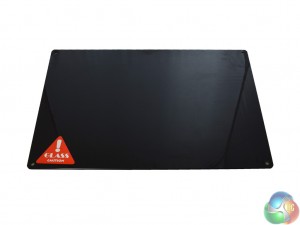
Packed underneath the frame are the two glass panels. They are quite dark, but measure 5mm thick and look really good.
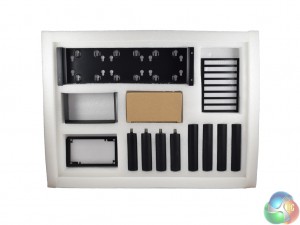
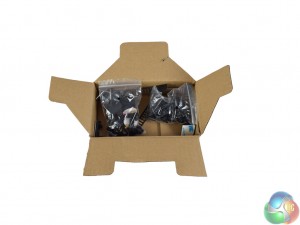
At the bottom of the box, all the additional pieces of hardware that we need are packed in foam padding. Here we find a HDD/SSD rack, the expansion slot bracket, a PSU mounting bracket, a PSU support bracket, and 8 chassis supports.
Also included are all the screws and mounting hardware that is required.
In this next section I will walk you through assembling the Paean.
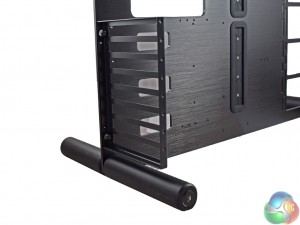
First, I screwed in the 8 chassis supports. The 4 longer ones come through the front of the aluminium frame and screw into the 4 shorter supports at the back. The glass panels will eventually screw into these chassis supports as well.
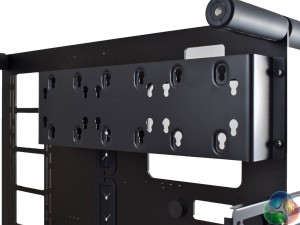
Next we can attach the expansion slot bracket and the PSU bracket. The expansion slot mounting bracket is obviously for the front of the chassis, but the PSU is mounted at the rear of the Paean. Both jobs are quick and pain-free as both mounts just need to be secured to the aluminium frame with two thumbscrews each.
Incidentally, four rubber standoffs are also included. These are adhesive and are designed to be stuck onto the aluminium frame where your power supply will be mounted. The standoffs should just dampen any possible vibrations from the power supply.
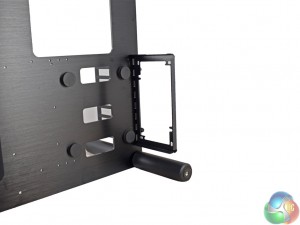
Next, the HDD/SDD drive rack can also be secured to the rear of the chassis with a total of four thumbscrews.
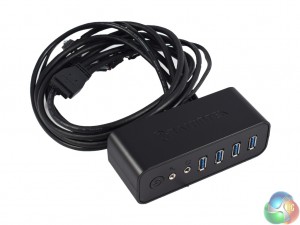
Also included is an I/O module. It consists of 4x USB 3.0 ports, headset jacks and power button.
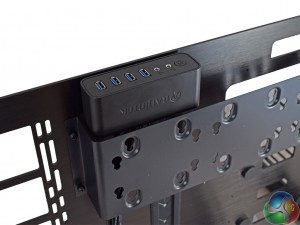
This I/O module can actually be mounted vertically, as shown above, or horizontally at the front of the Paean. I mounted it vertically, at the top of the chassis, as it is easier to access the module in that position when sitting at a desk, for example.
As far as pre-assembly goes, that is it. On the next page, I will show you the Paean with a fully built system installed.
 KitGuru KitGuru.net – Tech News | Hardware News | Hardware Reviews | IOS | Mobile | Gaming | Graphics Cards



So dust isn’t a con?!? I think it is. A big one.
Well, I own both a Corsair Carbide Air 540 and a Thermaltake Core P5.This case is their lovechild 😀