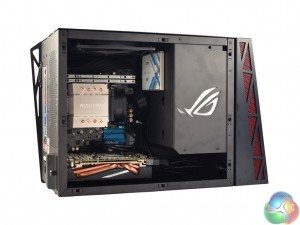
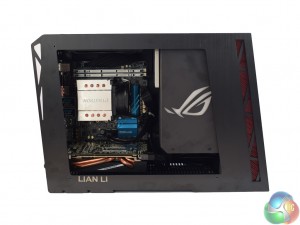
Building in the Lian Li PC-Q17 is actually very straightforward, despite the small size of the chassis. I used the following hardware:
- Asrock X99E-ITX/ac motherboard
- Intel 5960X CPU
- Dynatron R24 cooler
- 2x4GB of Panram Ninja V DDR4 3000MHz
- Sapphire R9 285 ITX GPU
- Corsair SF600 PSU
- OCZ Trion 150 SSD
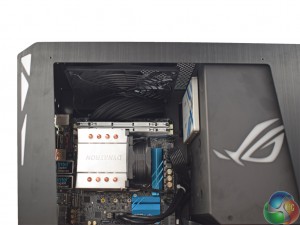
The biggest issue I had was not because of the case, but the motherboard. The Asrock X99E-ITX/ac uses the narrow-ILM mounting mechanism, meaning most coolers are not compatible out-of-the-box. Because of this, I had to use the bundled Dynatron air cooler which is both ugly and not hugely effective at dissipating lots of heat. However, this is not the fault of the case and does not affect the review – it is just worth pointing out. When using a socket 115x motherboard, for example, air coolers up to 140mm in height can be used.
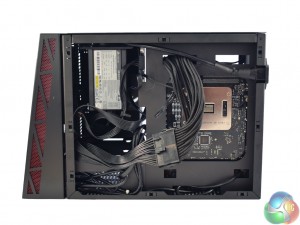
When building in the PC-Q17, I was surprised at how easy cable management is. I was able to route all cables behind the motherboard tray, and use the extra space in the PSU mounting area to fold excess cabling.
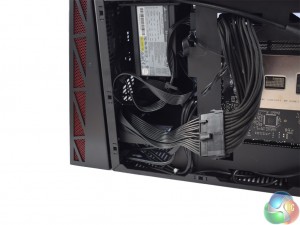
I did have to use a 24-pin extension cable for the motherboard's power connector – but this is simply because I used the Corsair SF600 power supply, which is an SFX PSU and thus has much shorter cables than is standard. An ATX PSU would not have this issue when building in the PC-Q17.
What helps matters is the number of cut-outs in the PC-Q17. There are two at the top of the motherboard tray, as well as two smaller ones at the bottom of the tray. Finally, two more larger cut-outs can be found between the PSU mounting area and the motherboard tray.
The only issue with cable management in this chassis is the lack of tie-down points. I would have liked to tie down the 24-pin extension cable to the motherboard tray, but there is not a single tie-down point to be seen. As such, the cable stood off from the chassis somewhat, which does not look overly tidy.
However, the PC-Q17's saving grace is its side panels. As I mentioned on the previous page, they simply pop into place using push pins – which means, as long as there is not ridiculous amounts of excess cabling behind the motherboard, the side panel just pops back on very easily.
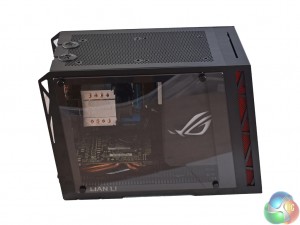
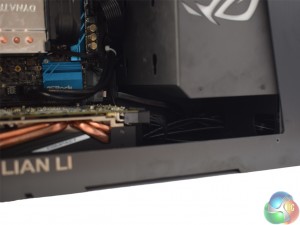
From the front, too, cabling is not on show at all. The only place where you might see any cabling is under the PSU mounting area, as pictured on the right, but you would have to be looking at a very specific angle to see the all-black cables. When viewed straight on, everything is neatly hidden behind the motherboard tray.
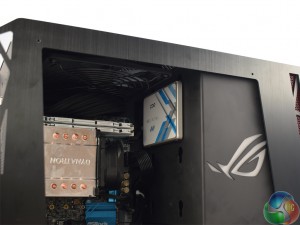
Here you can see the mounting of my OCZ Trion 150 SSD. Ignoring the fact the label is upside when the SSD is oriented with its ports facing away from the side-panel window, the mounting system in the PC-Q17 is very easy. Lots of anti-vibration dampeners are included which is a lovely touch from Lian Li, and not having actual drive bays means the case can be as small as possible. Simply mount your desired number of drives where you like – job done.
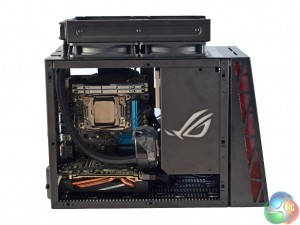
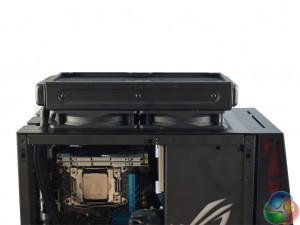
Lastly, I must demonstrate installing a 240mm radiator. It is possible to install a 120mm radiator on the inside of the PC-Q17 – simply remove the pre-installed 120mm fan and install a radiator there. However, for a 240mm radiator, or 2x 120mm fans, these have to be installed externally to the roof of the chassis, as seen above.
The hoses fit through two cut-outs in the roof, which have cable grommets installed, allowing a pump/waterblock to be installed inside the case.
 KitGuru KitGuru.net – Tech News | Hardware News | Hardware Reviews | IOS | Mobile | Gaming | Graphics Cards



that isn’t a lot of space for a graphics card however it would have been nice to include the max length for one in the review
Written on multiple pages that VGA cards up to 270mm are supported.
ok, my bad
No problem. 270mm is a lot and should fit many modern, high-end graphics cards
I see here that it is stated that the side panel is tempered glass, but on other sites it is mentioned to be acrylic. Have they made an update to the case or was that an error?