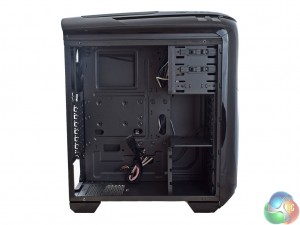
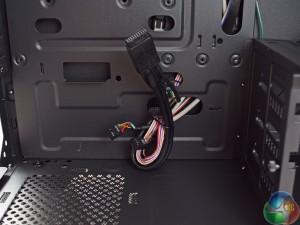
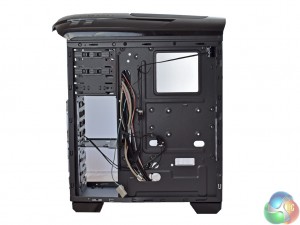
Taking off the side panel, we get our first look at the innards of the chassis. It is immediately apparently space is a bit tight – the 5.25in drive bays do eat up some of the room, while the 3.5in drive cage at the bottom also fills up the case's space.
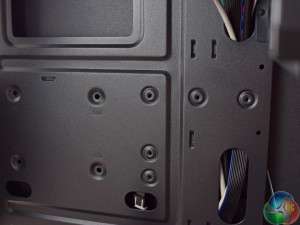
Another thing I noticed is that standoffs are not pre-installed (as you can see in the image above). The Aviator V does come with the necessary 9 standoffs, however, and they can be installed to fit ATX, Micro-ATX or Mini-ITX motherboards.
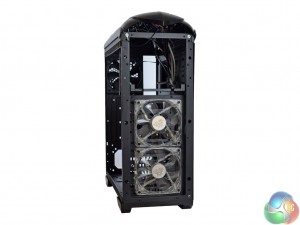
It is good to see 3 fans included out-of-the-box with the Aviator V, though. The two fans at the front are actually red LED fans which certainly adds some visual pizazz to your build. The rear fan is a standard 120mm unit.
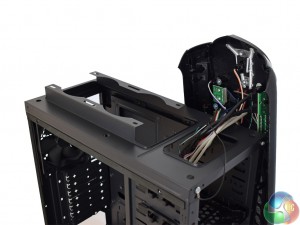
The top of the case can support 2x120mm fans as well, or even a 240mm radiator. However, the top panel cannot be fully removed due to the front panel connectors being wired in place. This could make it tricky to access the top fan mounts once you have built the system, as presumably the I/O cables will be tied down quite tightly.
Speaking of front-panel cables, they come pre-routed through a cut-out at the bottom of the case. It is a shame to see they are not sleeved, though, as the ugly coloured wires are quite visible.
There is a very basic dust filter for your power supply, too – but it is installed in such a fashion that it is impossible to access once your power supply is installed without removing the entire power supply. This is obviously impractical, but at the same time, most cases around this price point do not come with dust filters anyway, so perhaps it is better than no filtering.
Lastly, we get a look behind the motherboard tray. There is a fair bit of cabling tucked away here, mostly thanks to the fan controller's several wires. Incidentally, the front panel red LEDs also require a Molex power adaptor.
Just under the motherboard socket cut-out is a mounting space for an SSD, too. Any SSD you may wish to install here would have to be screwed in before motherboard installation, though, otherwise the screw holes become inaccessible.
 KitGuru KitGuru.net – Tech News | Hardware News | Hardware Reviews | IOS | Mobile | Gaming | Graphics Cards


