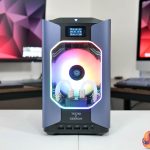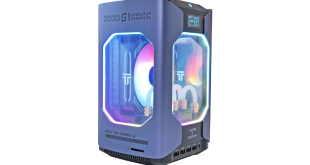
Today we are taking a look at something quite unique – a 5.7L watercooled mini-PC produced by Geekom in collaboration with smartphone manufacturer Tecno. Geekom claims the Megamini G1 is the ‘World's Smallest Liquid-Cooled Gaming Mini PC', packing in a GeForce RTX 4060 and Intel Core i9-13900H alongside 32GB memory and a 2TB SSD. It certainly looks the part, but today we find out exactly how it performs and whether or not it is worth buying at the $1899 asking price.
Timestamps
00:00 Intro
00:50 Kickstarter details
01:14 Design first impressions
01:47 But the tubing is ‘fake’
02:36 RGB + built-in screen
03:22 Ports and connectors
04:31 The teardown
05:54 Confirm core spec
07:02 BIOS and fan control
08:21 Normal Power mode
09:12 Performance Power mode – yikes!
11:04 Power draw and noise levels
11:51 System benchmarks
13:46 Black Myth: Wukong
14:19 COD: MW3
14:32 Cyberpunk 2077
15:09 Forza Horizon 5
15:34 Horizon Forbidden West
15:58 Starfield
16;23 Closing thoughts
The first thing you need to know about the Megamini G1 is that it is currently on Kickstarter, where backers are being asked for $1599 for the i7 model ($1699 full sale price) or $1799 for the i9 model we are reviewing, though the full MSRP will be $1899 once the kickstarter campaign comes to an end.
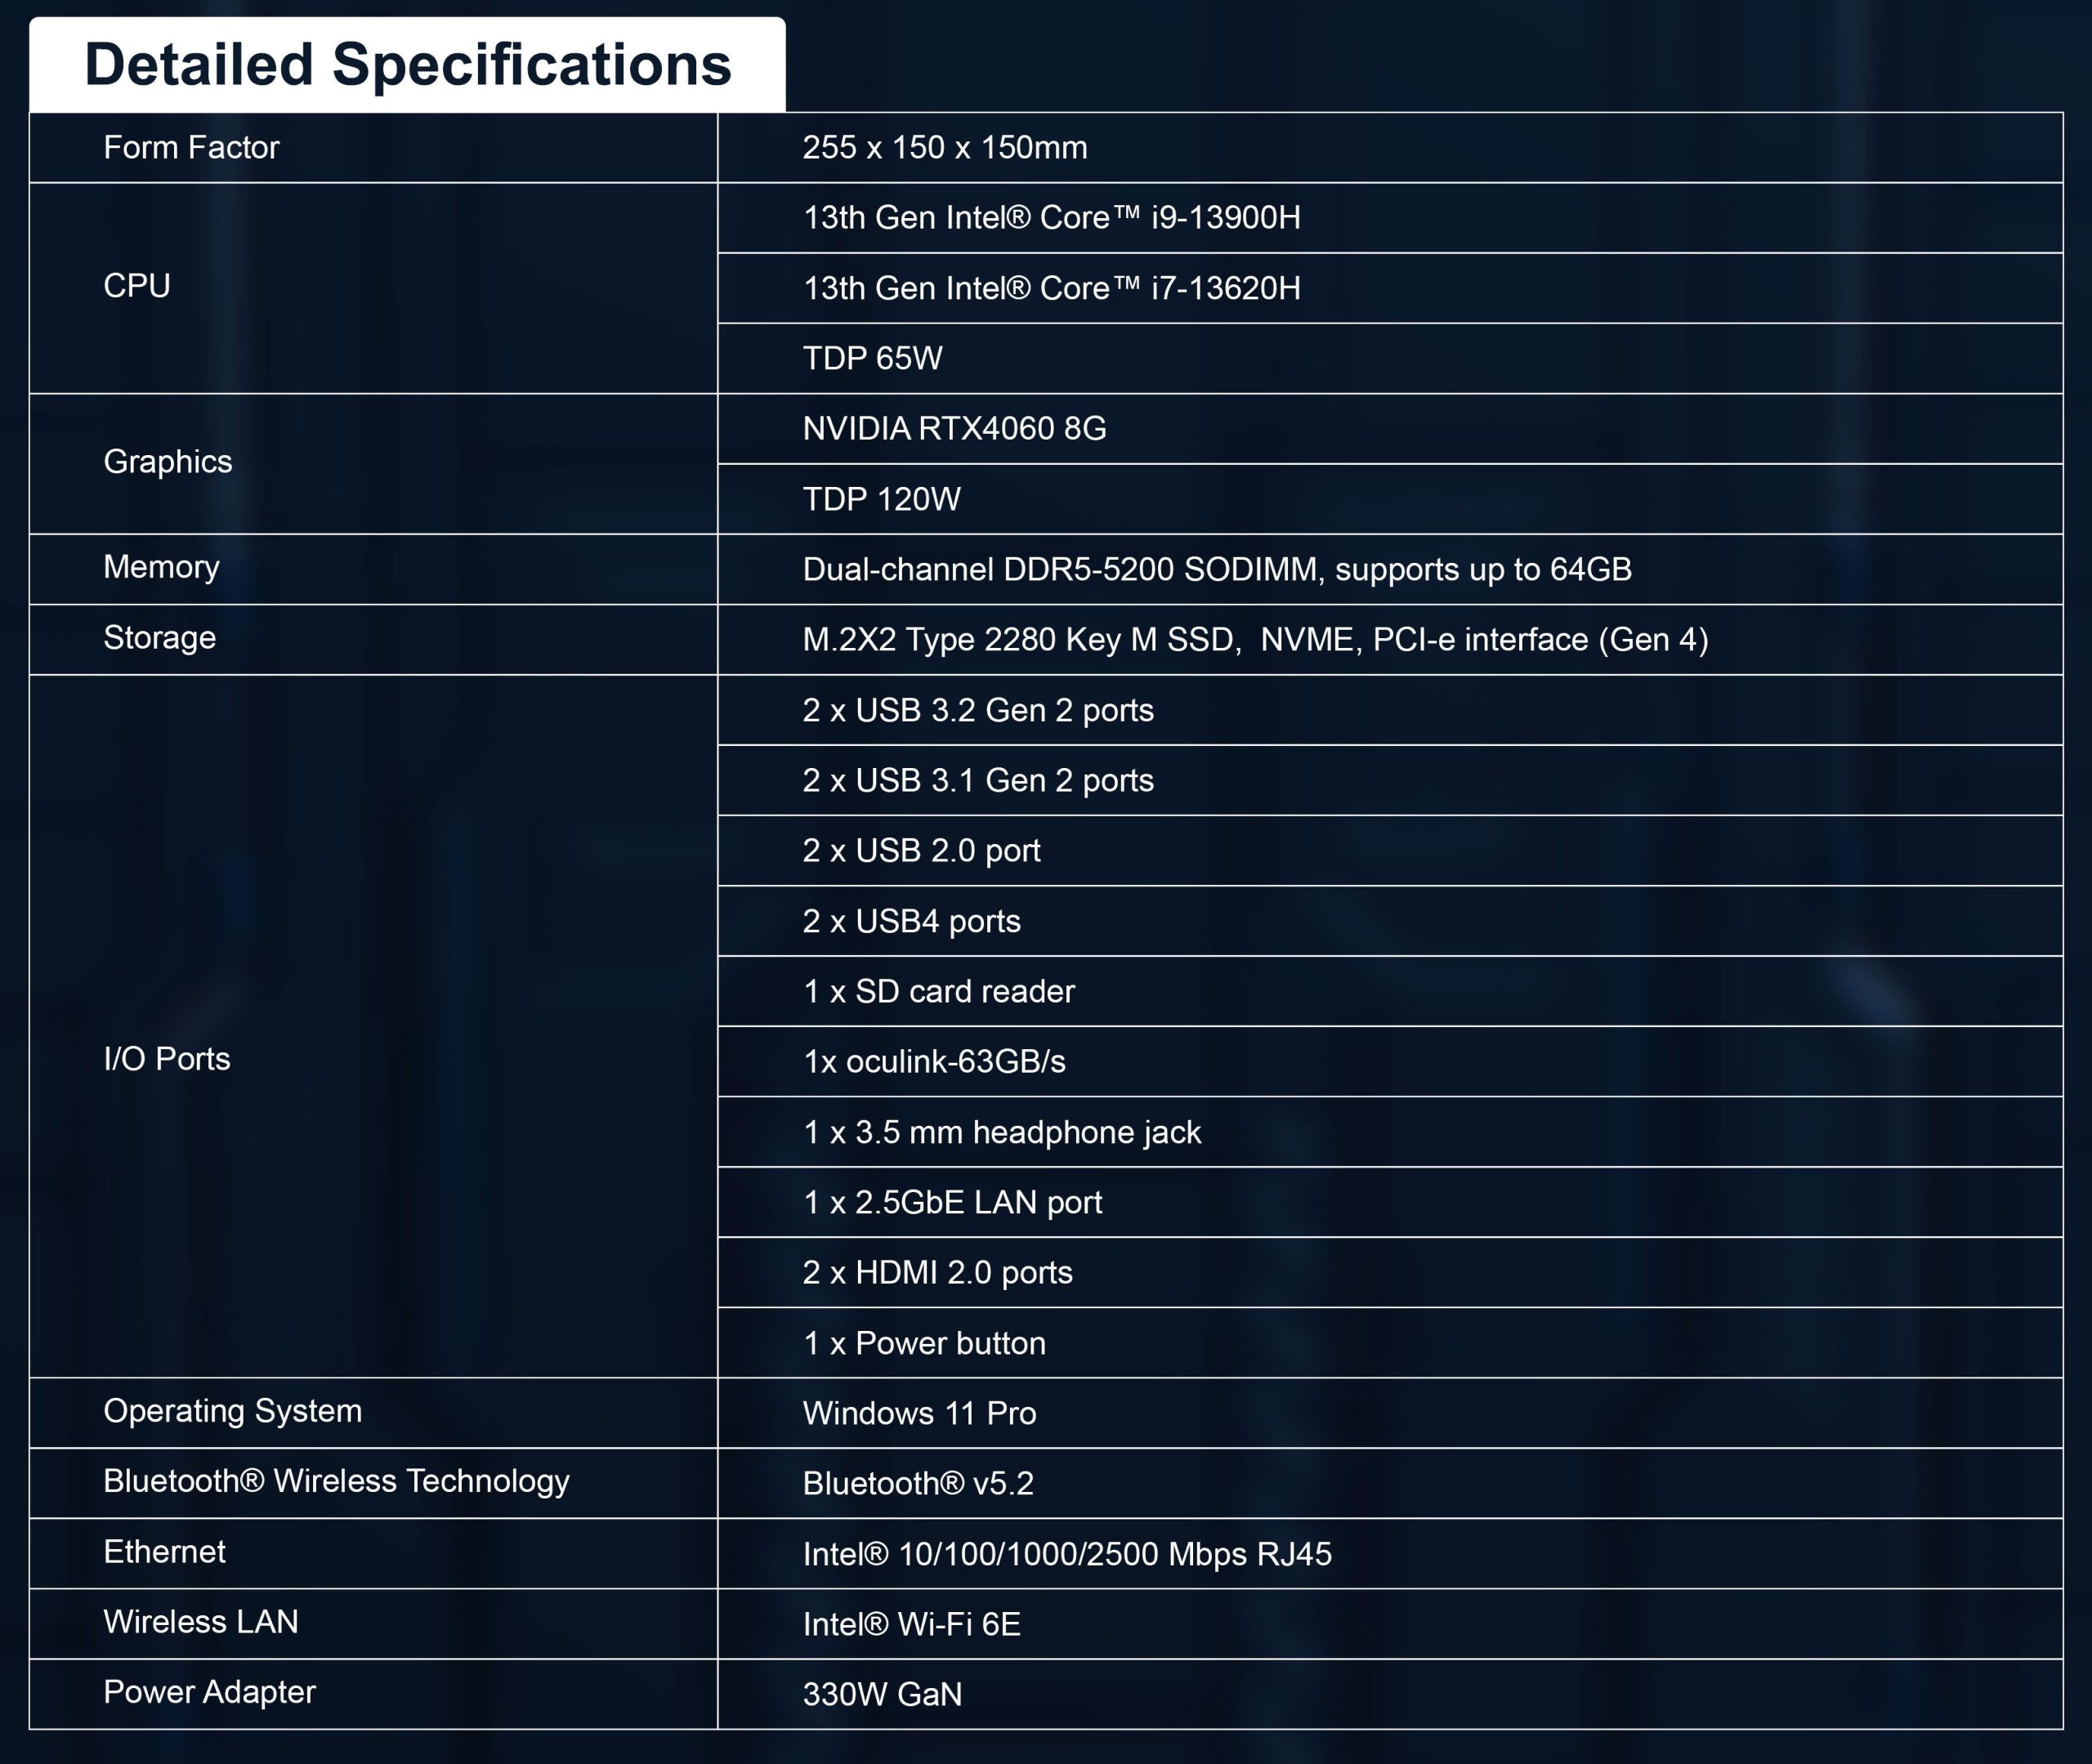
In terms of its design, Geekom Megamini G1 makes a great first impression. Not only is it very small, measuring 255 x 150 x 150mm giving it a 5.7L capacity, but it feels robust thanks to the use of metal panels. What really grabs your attention are the four u-shaped tubing runs visible through the windowed panels, it's visually unique and looks very futuristic – as well as the very nature of a custom-cooled setup in a PC this small is very cool indeed.
You can imagine my disappointment, then, to later learn that the visible loop tubing you can see here is purely decorative. It's entirely separate from the actual watercooling hardware, which is more like a compact AIO contacting both CPU and GPU, so it's basically just some water in a mini loop going round and round and not doing anything practical. On top of that, it's not been filled all the way, there's noticeable gaps in the decorative loop so when it is turned on, you just a lot of air bubbles and it doesn't quite look right. That doesn't affect cooling performance, as I said it is entirely for show, but it does detract from the overall look.
You will also have noticed the RGB lighting, with zones around the 120mm fan inside the system, and also LED strips running around the windowed panels. As it happens, control of the lighting is minimal at best – you can turn the LED strips off, but the RGB fan always has the light enabled, and there's no way to configure the lighting effect or colour.
It's a similar story for the LED screen at the top of the front panel. Initially I thought this was a cool feature, giving live readouts of CPU and GPU metrics. However, it quickly became clear there's no way to configure what's on the screen, and it also seems to think the system has 70GB of RAM when it has 32GB so it doesn't seem particularly accurate.
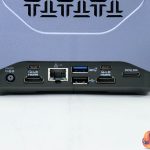
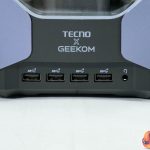
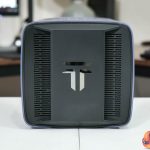
Round the back we find plenty of ventilation cut-outs in the metal, as this is where the AIO fan exhausts hot air, and there's the rear I/O panel at the bottom. To Geekom's credit it is a very full I/O with plenty of USB ports – as well as four more round the front -alongside 2x USB 4 Type-C ports, Ethernet, and even an Oculink which Geekom claims can offer 63GB/s bandwidth and could be a way to connect a faster external graphics card down the line. My main disappointment here is that the HDMI ports are 2.0 and not 2.1, despite HDMI 2.1 being supported by the RTX 4060 GPU. I personally wanted to try hooking this up to my LG OLED TV which can do 4K/120, but sadly you will be limited to 60Hz in this scenario.
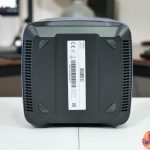
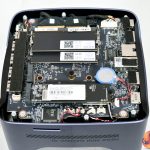
As for disassembly, this is done in parts and initially seemed fairly straightforward. You first remove four rubber feet from the underside of the machine to reveal the four screws holding the bottom panel in place. That pops off and there's a couple more support brackets to remove, before you get access to the underside of the motherboard. Here we can access the two SODIMM slots, each occupied by a 16GB module, while there's also one 2TB Phison E27T M.2 SSD installed and a spare M.2 slot next to it, though it is limited to 2242 drives and not fullsize 2280 models.
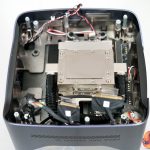
You can also remove the motherboard by taking out a bunch more screws and carefully unplugging a bunch of headers and connectors, revealing the Raptor Lake die on the other side and the VRM layout. Underneath the motherboard you can now also see the waterblock that contacts both the CPU and GPU, and the much more boring-looking black tubing that is part of the actual watercooling loop. I didn't remove the GPU but it is an MXM module, something that is pretty rare these days, so while an upgrade is theoretically possible, I have no idea if you'd actually be able to find a standalone MXM card, and it's not the most straightforward process to get inside the Megamini G1.
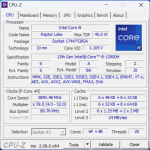
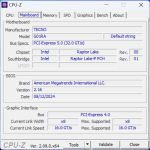
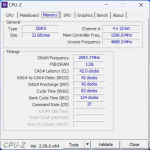
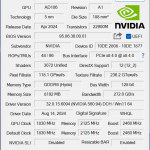
Confirm the core spec of the machine, the Megamini G1 is using an Intel Core i9-13900H Raptor Lake CPU, and obviously that is a mobile part with six P-cores and eight E-cores. It's also now a last-gen SKU, I did ask Geekom why they opted for an older CPU and they told me it basically came down to what was available when they started the project, though there was a suggestion a 14th Gen model may be coming, but for now this it it. Memory is provided by 2x 16GB DDR5-5200 modules, CL42. The GPU is an RTX 4060, running at stock clocks (2460MHz boost.)
 KitGuru KitGuru.net – Tech News | Hardware News | Hardware Reviews | IOS | Mobile | Gaming | Graphics Cards


