Gigabyte Z270 UEFI
Firstly, we are pleased to report that our generic wireless mouse worked correctly in the Gigabyte Z270 UEFI. Some mice can be troubling with UEFI support, so when a generic wireless unit functions correctly in the interface, that is usually a good sign for overall mouse support.
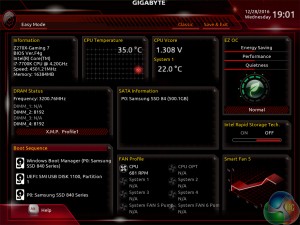
Gigabyte's Easy Mode page is a solid attempt at sectioning a handful of simple settings into a single section. Users can alter the boot sequence, check fan speeds, monitor temperatures and voltages, enable XMP, and change the performance mode without jumping into the deeper (and more scary for less experienced users) UEFI sections.
I don't have any complaints about Gigabyte's Easy Mode implementation. It is as good as the versions used by competing vendors.
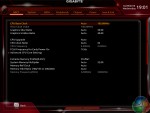
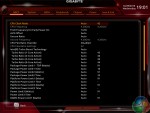
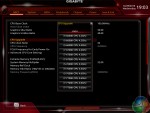
MIT is the main section where parameters relating to voltages, frequencies, and power settings for the system's main components are found. The Memory and Voltage sections are split from the Frequency subsection, which makes sense until one realises that an entire group of memory settings is replicated in both the Frequency and Memory subsections.
The subsection splitting does force a user to jump back and forth between pages but it also helps to keep the individual subsections tidy and without an overwhelming amount of information on one page (I'm looking at you, ASUS and MSI). Judging whether this sectioned layout or one where most settings are on a single page is better is down to individual preferences, as my colleague Ryan is not particularly fond of jumping between subsections but I personally prefer the segregation.
Standard, High, and Turbo LLC settings don't make any sense because there's no explanation (be it visual or written) as to how the voltage profile is adjusted with each mode. As it happens, our trial-and-error testing suggests that you should use the High LLC setting if you want CPU VCore to stay close to your applied numerical value without a significant overshoot (Turbo) or undershoot (Standard). Is this so hard for Gigabyte to write in the UEFI?
There is a help section on the right side of UEFI pages but it has to be manually selected in order to be displayed. Competing motherboard vendors' approach of permanently displaying important information on the right side is better.
A dozen overclocking presets for Skylake and Kaby Lake unlocked i5 and i7 CPUs is great to see. We tested out the 4.8GHz 7700K profile and found it to be a decent offering which resulted in a 1.38V loaded CPU VCore that was Prime 95-stable (with good enough CPU cooling capacity). XMP settings are not disabled, either.
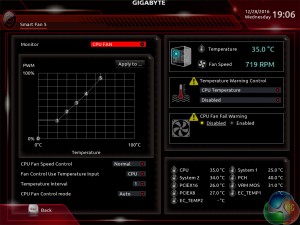
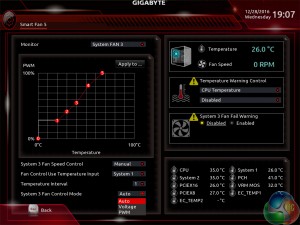
The Smart Fan 5 settings subsection can be accessed from the MIT page. This superb fan control system is the crown jewel for Gigabyte's Z270 UEFI.
All fan headers can be individually selected and their speed profiles can be tweaked. Gigabyte includes a number of preset fan speed control settings and a choice of temperature monitoring points. The headers can also be set to PWM or Voltage (DC) mode at will, which is ideal for feeding continuous current to a watercooling pump or letting PWM fans adjust in speed.
It's the manual fan speed tweaking mode where Smart Fan 5 really shows its worth. Six points on a graph can be used to create the fan speed curve. A level as low as 0% PWM speed down to 0°C is also supported, meaning that you can set the fan to switch off if the system is operating at ambient temperature (provided the fan is able to stop itself spinning).
I also noticed the motherboard automatically managing the speed profile of 3-pin Noctua fans used on the NH-D14. Under low load conditions the speed would be reduced to a very low noise level until temperatures rose and the fans would spin faster. This was without any additional setting changes conducted by myself.
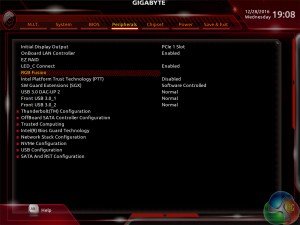
The Peripherals tab contains settings and information relating to onboard devices such as the SATA controller and NVMe configuration.
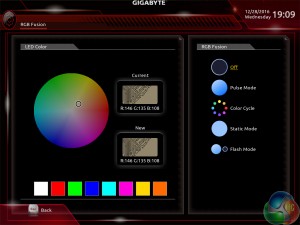
RGB Fusion is Gigabyte's basic UEFI-based LED colour control tool. Colours can be adjusted and the LED activation mode can be set, but that's about it. There is a limit to how complex the tool can be given its residence inside the UEFI and the OS version has greater functionality.
With that said, I like to see at least some form of LED control available in the UEFI as it helps to maintain user-defined parameters in the case of an OS reinstall or system corruption that damages the OS-based LED profiles.
Settings relating to the internal graphics and virtualisation support, among others, can be tweaked in the Chipset page.
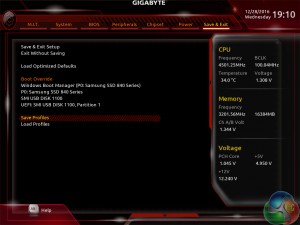
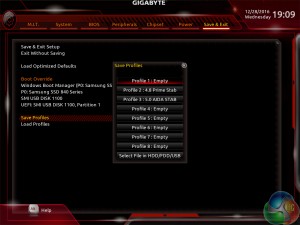
Up to 8 individual profiles can be saved to the board's internal memory. Further profiles can be transferred using a storage medium.
The profile manager is accessed through the Save & Exit page. I can see the logic in this location but I would prefer that the profiles were available in a more obvious section, perhaps MIT as this is where the bulk of parameter adjustment is conducted or BIOS as that would be logical.
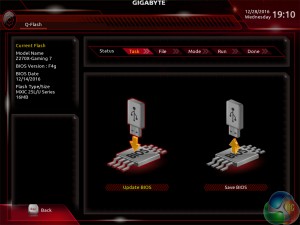
Gigabyte's BIOS updating tool – Q-Flash – is accessed via a hidden tab on the bottom of the screen. I took a few minutes to find its location which was annoying as it would make more sense if there was some reference to it in one of the main pages, such as BIOS.
We were able to enter different folders within our USB drive using Q-Flash and then update the BIOS with ease. There's no internet-based BIOS update tool available through the Gigabyte UEFI, as we have seen some competing vendors offer.
UEFI Summary:
Good fan control options through Smart Fan 5 and an ability to control RGB LED settings, albeit in a basic manner, through RGB Fusion are positive points for Gigabyte's Z270 UEFI. The interface was stable throughout our testing and we didn't seem to be missing any glaring system tuning settings that limited our overclocking capabilities. That is, with the exception of LLC settings which make any sense or have an explanation tied to their operating mode.
Overall styling of the UEFI is older, less interactive, and far less appealing than the solutions by ASUS and ASRock in particular. I found myself relying upon the keyboard for parameter adjustments more than I do in competing UEFI implementations. There's no ‘special‘ UEFI feature like SSD Secure Erase with ASUS and MSI or ASRock's and MSI's System Browser and Board Explorer tools, respectively. And some tools are found in questionable locations (Profiles and Q-Flash).
Gigabyte's current Z270 UEFI is certainly a major improvement over the implementation seen on the early X99 boards and the Easy Mode page is a nice addition over Z170. But there's no denying that further work is required if Gigabyte wants a UEFI implementation that can wholeheartedly compete with those of ASRock, ASUS, and MSI in more than a small number of select areas. With that said, fan control functionality is superb and that may be enough of a positive for users to overlook the other negatives.
Software
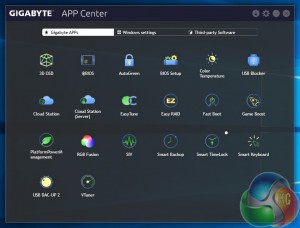
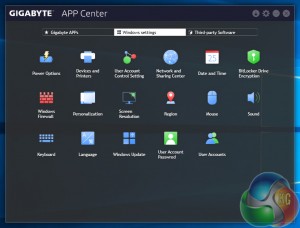
Gigabyte makes a vast number of software utilities available for installation with its Z270 motherboards. Thankfully, not all of the tools have to be installed and APP Center is a very good method of managing the selected software, as well as third-party apps and Windows settings.
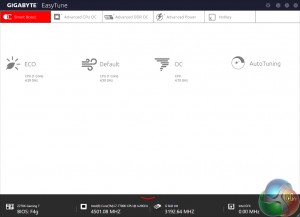
EasyTune is Gigabyte's tool for managing system operating parameters. The performance profile of the system can be adjusted using EasyTune and there's also the option to conduct automated system tuning (which gave us a 4.7GHz CPU frequency, as we'll highlight later in this review).
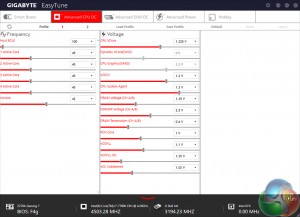
Other system settings such as voltages, speeds, and ratios can also be adjusted and saved into profiles.
EasyTune Hardware Monitor break-out tab is an excellent way of reading a wealth of system information while inside the OS. The sheer quantity of information displayed is superb and we CPU VCore accuracy to be good when tested against a physical multimeter reading.
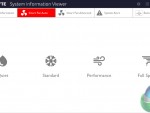
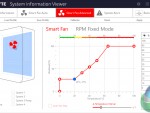
System Information Viewer (SIV) is a similar setup to EasyTune but it is geared towards fan control and system monitoring. Four fan speed profiles can be selected and manual fan control ability is provided in great detail. An 8-point curve can be set for all of the motherboard's fan headers or, alternatively, an RPM-fixed mode can be applied (which custom liquid cooling enthusiasts may appreciate).
System recordings relating to voltages, temperatures, and fan speeds can also be made. This is particularly useful for analysing stability in the form of checking how your system behaves during an extended gaming or video rendering session, for example.
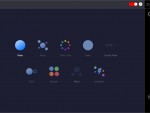
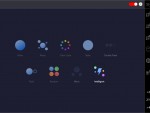
RGB Fusion is Gigabyte's in-depth LED control application. The Basic tab can be used to activate different LED operation modes and also tweak the RGB behaviour. I was particularly fond of the Intelligent mode which adjusts the LED colour profile based on statistics such as the CPU temperature or load, the LAN speed, or even a time schedule.
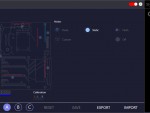
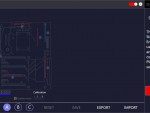
The Advanced section gives a greater degree of LED control, allowing users to adjust the lighting colour and behaviour for the board's numerous individual zones (and RGB header). A calibration tool is available for Gigabyte's unique 5-pin RGB header, allowing greater compatibility on the fragmented RGB LED strip market.
Three individual LED profiles can be saved and they can be exported/imported to share with friends or for backup purposes. RGB Fusion has the ability to control the LED profiles of partnering hardware such as an RGB-enabled graphics card.
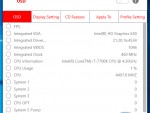
Focussing on some of the more useful tools, 3D OSD is a RivaTuner-like application that can be used to overlay system information on the screen. I don't see the need for this feature when RivaTuner is freely available alongside MSI Afterburner but it may prove useful for some people, nonetheless.
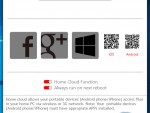
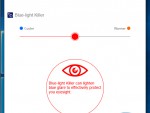
HomeCloud is a tool for allowing other devices to access your system's files. Color Temperature can be used to adjust the blue-light profile of one's monitor. I tested this feature with a basic BenQ G2222HDL monitor and it worked well.
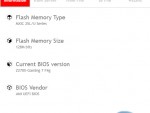
@BIOS makes up for limited UEFI-based updating methods with an ability to update the BIOS from an online server. BIOS information can also be used and the profile can be saved, both of which are useful troubleshooting and general usage features.
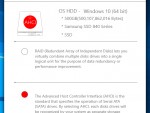
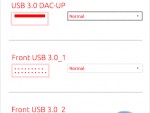
As the name suggests, EZ RAID is a simple tool for creating a software RAID array inside the OS. USB DAC-UP 2 can change the settings of certain USB ports (including both front panel USB 3.0 headers) in order to suit a user's preference with their audio hardware.
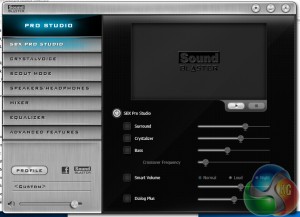
Sound Blaster Pro Studio provides a wealth of audio settings and features that can be tailored to individual preference. The controversial Scout Mode can be activated with the software.
OS Software Summary:
Gigabyte's variety of available software tools is superb and the system for managing them through APP Center is smart and efficient.
EasyTune works well and the Hardware Monitor break-out tab provides a wealth of usable system readings. SIV is excellent for controlling fan speeds through an easy-to-use OS-based interface.
RGB Fusion is excellent and gives users a sizeable amount of flexibility for tuning their system's lighting conditions. The LED-adjusting tool is actually as good as ASUS' AURA software in general, and better in some respects (re-mappable RGB header pins, and the Intelligent RGB modes).
It's difficult to find criticism for Gigabyte's selection of OS-based software. Perhaps the only negative point that strikes me is that the apps border a little on the resource-heavy side and seemed to have a minor effect on performance numbers. Oh, and some form of RAM drive software tool would have been a nice addition.
 KitGuru KitGuru.net – Tech News | Hardware News | Hardware Reviews | IOS | Mobile | Gaming | Graphics Cards







“The individual audio results should be interpreted with care due to the difference in RightMark Audio Analyzer’s reaction to the Creative-based solution used on Gigabyte’s board versus the Realtek codec of its competitors.”
I don’t understand what that means.
I have this board and while it’s a tremendously beautiful work of art, RGB Fusion doesn’t hold its brightness settings after reboot. Which, can be annoying when the PC is on your desk just to your right and you don’t want those beautiful bright greens to be /too/ bright, so you tone them down to the lowest setting (25%) only to find that you have to do it every single time you boot into Windows 10 Pro x64. I looked to see if there were any obvious files in the RGB Fusion folder that would hold settings for such and if they perhaps were read-only, but the only settings files I found were xml’s for various demo effects, I would assume. I’ve tried setting the main exe’s in the folder to run as administrator and see if that works. No dice. Seems as if Gigabyte might have a little more work left to do with this, and funny enough, their GvLedServices.exe file descriptions weren’t filled out. They were left as “TODO: ” .. “TODO: ” .. “TODO: ” under Properties > Details. I guess that slipped their “to do” list. It shows up as “TODO: ” in Task Manager > Processes, which could potentially confuse someone that isn’t privy to the program not quite being as polished as it should be.
Also, I had an issue where, suddenly, when trying to run the RGB Fusion program, it would load the dialog box, but that’s it, and sit there with blank panels and “Please Wait…” flashing through the RGB spectrum in the middle of the main panel for around 5 minutes before finally loading, then making any changes would take another few minutes or so, but they wouldn’t actually do anything. The power switch at the top no longer turned the LED’s off, either. I had to uninstall the program, reboot, reinstall the program and then run each process from its folder manually to get it to work again. It’s been working since then, even after reboots, but still doesn’t hold the brightness setting.
https://uploads.disquscdn.com/images/7bd0e4c346835a42abdf525b89866c38c628c6205a00e90bada27f21db0bbf2f.jpg
Might as well be written in another language and then translated back to English with Google translator.