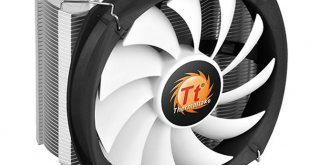
While all in one liquid cooling units continue to dominate the high end CPU cooling space, there is still plenty of room left in the market for a good old fashioned air cooler. Today we will be taking a look at the Frio 14 from Thermaltake. This CPU cooler promises minimal noise output at an affordable price but, does it deliver? Let’s find out…
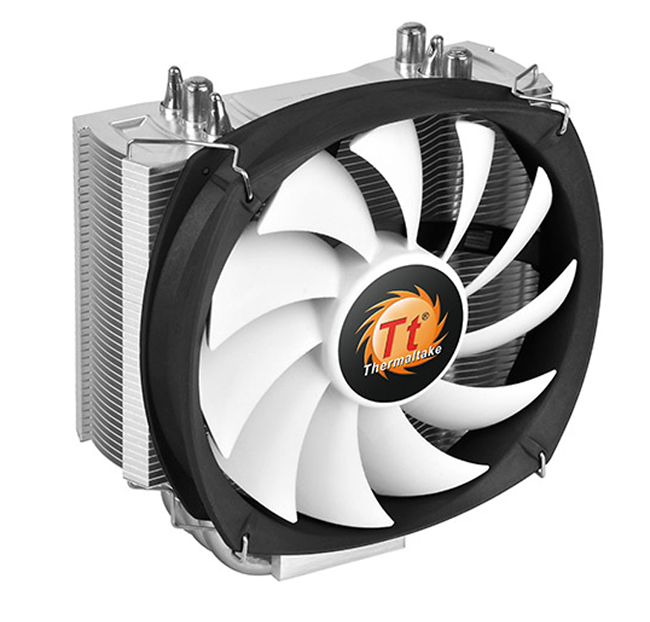
The Thermaltake Frio 14 happens to be very slim, the heatsink receives airflow from a 140mm pressure optimised fan and has three U-shaped heatpipes running through it, making direct contact with the CPU to draw heat away as fast as possible.
For this review, we will will be comparing the Frio 14 against the slightly cheaper Arctic Cooling Freezer A30 and the slightly more expensive be quiet! Dark Rock 3.
Specifications:
- CPU Socket Compatibility: Intel LGA 2011/1366/1155/1156/1150/775 & AMD FM2/FM1/AM3+/AM3/AM2+/AM2.
- Heatsink Dimensions: 160 x 150 x 40mm (H x W x L)
- Heatpipe Dimensions: 8mm x 3 pcs
- Fan Dimensions: 140 x 140 x 25mm (H x W x L)
- Rated Voltage: 12v
- Fan Speed: 500-1200 RPM (300-700 with low noise cable)
- Acoustic noise: 19.3 dBA (12dBA with low noise cable).
- Cooling Power: 165w
- Weight: 620g
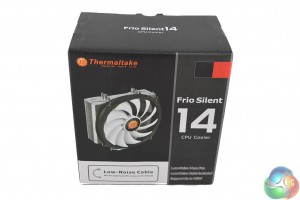
Thermaltake ships the Frio 14 in a rather small box. The front features a small picture of the cooler itself and makes several mentions of the its low noise capabilities.
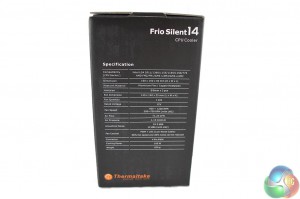
On the side you will find a full list of specifications.
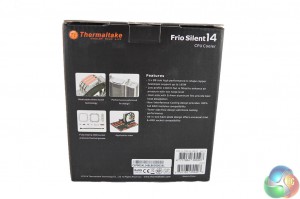
The back of the box gives a brief run down of the cooler's key features, such as tall RAM compatibility.
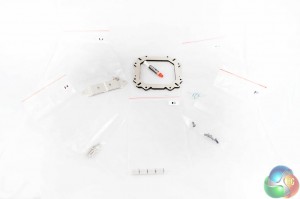
Inside the box you’ll find some instructions, a trove of mounting hardware and a small tube of thermal paste.
The installation guide keeps things short and sweet, there are just seven steps to the entire installation process for both Intel and AMD, something that we delve in to a bit deeper on the ‘Installation’ page.
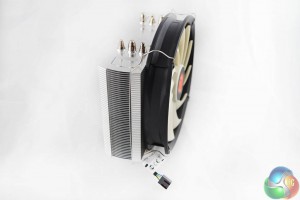
The cooler itself is very slim- which means it should be compatible with all high profile RAM modules on the market. In addition, the fins on the heatsink sit very close together, there is just 0.4mm of space between each one.
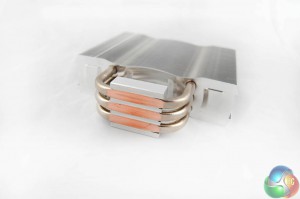
There are three 8mm copper heatpipes which form a U shape through the heatsink and make direct contact with the CPU. They are rated to handle up to 165W of heat.
Overall, the Frio14 is a decent looking cooler. Now let's take a look at the installation process…
As I mentioned during the unboxing section of the review, the Frio14 comes with a very simple seven step installation manual- which is incredibly easy to follow.
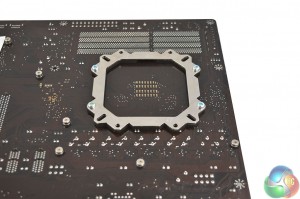
To start off with, you'll need to verify your CPU platform and select the appropriate screw holes for your socket. Once that is out of the way, you'll need to hold the backplate with the vibration dampening foam side against the motherboard. Insert four screws through the backplate and secure it on the front side with the four nuts provided. That's it for backplate installation.
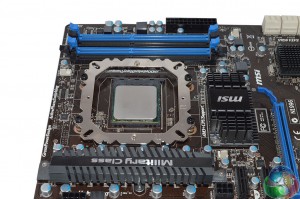
Now our attention moves to the front of the motherboard, place your mounting bracket on top of the four nuts and secure it with four more screws. This whole process is incredibly easy- Thermaltake's short and simple instruction guide will likely be useful to many beginners buying this product.
Now we just have to secure the heatsink itself, which is where things get a little tricky. First put some thermal paste down on your CPU, place the heatsink on top and take your mounting plate and align it with the metal notches on top of the CPU block.
Unfortunately, the instructions don't tell you how to secure the heatsink properly, they simply tell you to secure it with the two screws provided but it's not quite that simple.
Trying to secure the mounting plate to the bracket one side at a time won't work, you'll end up putting a lot of unnecessary strain on your motherboard and you could damage the screw threads.
The easiest way I found to screw the heatsink in was to push down on either side of the mounting plate evenly and try to thread both screws a little bit with my fingers. Then I could revert to using a screw driver, tightening each corner a little at a time.
Overall, Thermaltake's mounting process is user friendly but it falls apart at the very end when it comes to securing the heatsink to the mounting bracket. The instructions simply tell you to screw the heatsink in, when in reality, it's a little bit more complicated than that.
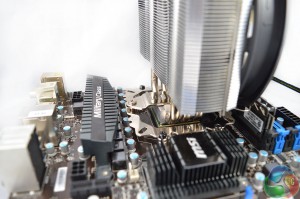
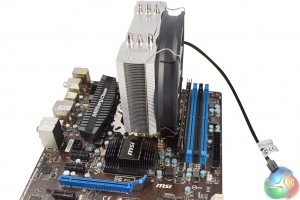
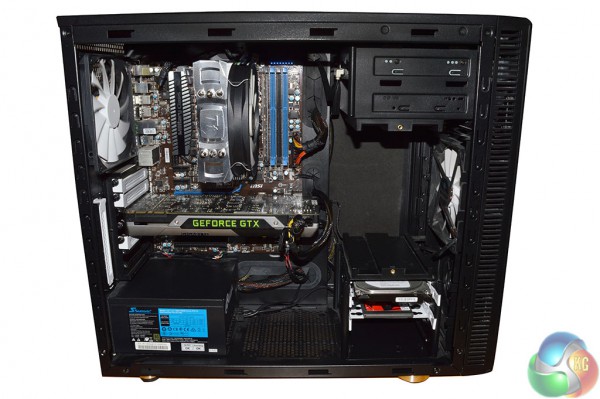
As you can see in this image, there is plenty of room between the cooler and the first RAM slot, making high profile modules a non-issue.
Thermal Performance Test Procedures:
- Idle temperatures are obtained after sitting at the desktop for 15 minutes.
- Load temperatures are obtained after running Prime95 in the ‘Small FFTs’ mode for 15 minutes.
- We tested with our AMD FX-8350 CPU at stock voltages and at stock speeds.
- The cooler’s fan is set to 100% to eliminate any inaccuracies from dynamic PWM fan speed adjustments.
- We use HWMonitor to measure the CPU temperature.
- CPU temperature recording is accurate to +/- 0.5 °C. Ambient temperature recording is accurate to +/- 0.05 °C.
- Ambient temperature was maintained at 22 °C.
Acoustic Performance Test Procedures:
- We measure the noise output of our entire system from a distance of 1m while the CPU Cooler’s fan operates at 100%. This way indicates the maximum noise output possible.
- We unplug the case fans and avoid using a discrete GPU when possible in an effort to isolate CPU fan noise.
Test System:
- Processor: AMD FX-8350 Retail (4.0 GHz, 4.2 GHz Turbo)
- Motherboard: MSI 990FX GD-65.
- Memory: 8GB Crucial Ballistix 1600 MHz.
- Graphics Card: Reference design Nvidia GTX 780.
- System drive: 240GB Kingston V300 SSD .
- Secondary Drive: 1TB Seagate Barracuda 7200rpm.
- Case: Fractal Design Define R4.
- Power Supply: Seasonic G-750 80+ Gold.
- Thermal paste: Supplied Thermaltake branded thermal paste.
We compared the Thermaltake Frio 14 CPU cooler to a couple of competing models on the market- the Arctic Cooling A30 and the Dark Rock 3. It is worth noting that both comparison coolers are brand new, meaning that there is no dust, dirt or damage that could possibly affect the accuracy of our recorded results.
Our charts show actual temperatures of the CPU rather than delta temperatures.
Ambient temperature was maintained at 22°C.
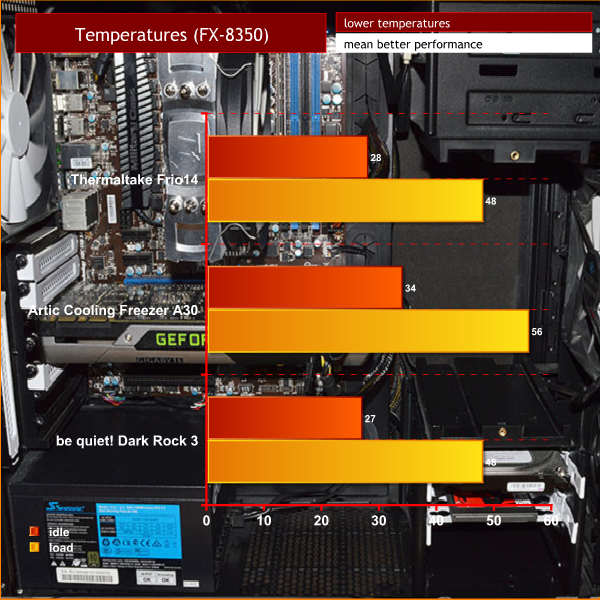
As you can see, the Thermaltake Frio14 performs admirably. Idle temperatures were kept at a steady 28 degrees while load temperatures managed to stay comfortably under the 50 degree mark. In addition, the cooler held its own against the more expensive Dark Rock 3 from be quiet!.
An impressive result for a cooler that only costs £30.
We measured the noise output of our entire system from a distance of 1m while the CPU cooler’s fan operated at 100%. This allowed us to record the maximum possible volume of the CPU cooler.
Lower noise levels can be achieved by utilising the included 4-pin low-noise PWM cable included in the box.
KitGuru noise guide:
10dBA – Normal Breathing/Rustling Leaves
20-25dBA – Whisper
30dBA – High Quality Computer fan
40dBA – A Bubbling Brook, or a Refridgerator
50dBA – Normal Conversation
60dBA – Laughter
70dBA – Vacuum Cleaner or Hairdryer
80dBA – City Traffic or a Garbage Disposal
90dBA – Motorcycle or Lawnmower
100dBA – MP3 player at maximum output
110dBA – Orchestra
120dBA – Front row rock concert/Jet Engine
130dBA – Threshold of Pain
140dBA – Military Jet takeoff/Gunshot (close range)
160dBA – Instant Perforation of eardrum
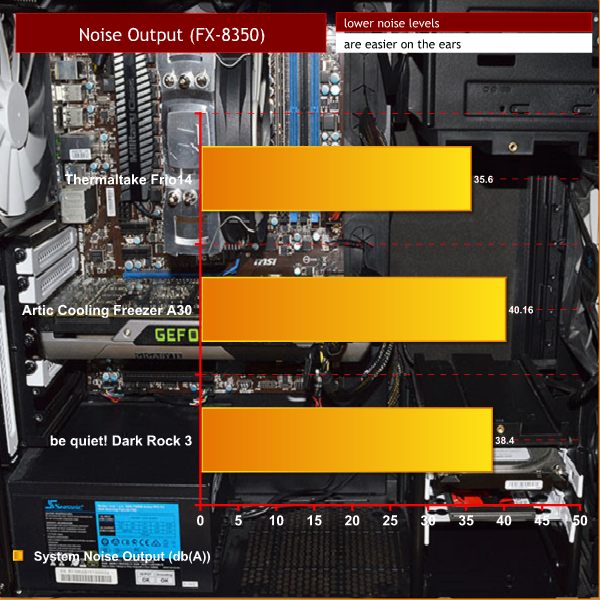
These results show that the Frio14 is seriously quiet, the entire system hit a max noise level of 35.6 dBA, once again beating out the more expensive Dark Rock 3. The fan maxes out at 1200 RPM but still manages to maintain comfortable temperatures.
Overall, we are very impressed with the Thermaltake Frio14 silent CPU cooler. It was clearly designed from the ground up to deliver excellent cooling proficiency at very low noise levels.
Temperatures were kept lower than 50 degrees at all times, even on the power hungry FX-8350 chip. Noise levels were even better, coming in at just 35dBA thanks to the high quality 140mm fan.
I would like to point out that our results are taken with the fan spinning at 100%, most real world scenarios such as gaming, didn't require the fan to spin this fast and as a result, you'll achieve even lower noise levels.
If you are interested in overclocking then there is plenty of thermal headroom to play around with. However, for better results, you may want to look in to the Frio Extreme, the dual tower variant of this cooler.
We have been informed by Thermaltake that the Frio14 will release in the UK for about £30, a fantastic price given that it can trade blows with much more expensive coolers. However, store availability has yet to be announced.
Discuss on our Facebook page, over HERE.
Pros:
- Extremely quiet.
- Strong cooling performance.
- Slim profile.
- Easy mounting procedure.
Cons:
- None.
KitGuru Says: If you're in the market for an extremely quiet, yet affordable CPU cooler and don't mind the bare aluminium look, then the Thermaltake Frio14 is the first cooler you should be looking at.

 KitGuru KitGuru.net – Tech News | Hardware News | Hardware Reviews | IOS | Mobile | Gaming | Graphics Cards


I have a bigger cooler, and looks exactly like this, but it’s from cooler master, and dose a pretty good job keeping my cpu cooled.
Whats an “Low Noise Cable?”
It uses 7V instead of 12V which reduces the RPM, which makes the fan even less noisy.
You can make a review of the Thermalright Archon SB-E X2? Thank you